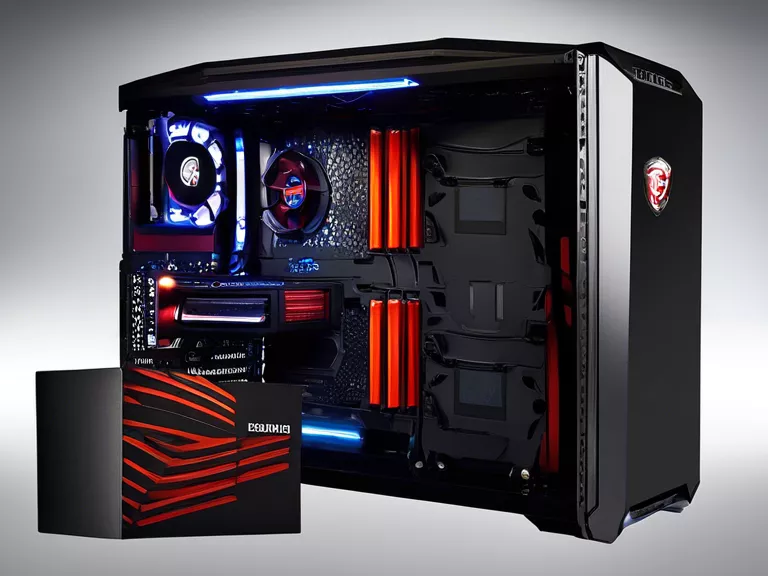
How to Build a Custom Gaming PC That Delivers High-Performance Gaming
Are you tired of playing on a laggy computer that can't keep up with your favorite games? Building a custom gaming PC may be the solution for you. With the right components and a little bit of know-how, you can create a high-performance gaming machine that will enhance your gaming experience.
Components You'll Need
- Processor (CPU) - Consider getting a powerful CPU to ensure smooth gameplay.
- Graphics Card (GPU) - Invest in a high-end GPU for excellent graphics and rendering.
- Motherboard - Choose a motherboard that is compatible with your other components.
- Memory (RAM) - Opt for at least 16GB of RAM to handle multitasking and gaming.
- Storage - SSDs offer faster load times, but HDDs provide more storage capacity.
- Power Supply Unit (PSU) - Select a PSU with sufficient wattage to power your components.
- Cooling System - Keep your PC running smoothly with adequate cooling, such as fans or liquid cooling.
- Case - Choose a case that fits your components and has good airflow for cooling.
Steps to Build Your Custom Gaming PC
- Prepare Your Workspace - Clear a space to work and gather your components and tools.
- Install the CPU - Carefully insert the CPU into the motherboard's socket.
- Install the GPU - Seat the GPU in the appropriate slot on the motherboard.
- Install the RAM and Storage - Insert the RAM sticks and connect your storage devices.
- Connect Components - Attach the PSU, cooling system, and case fans.
- Power On and Test - Power on your PC and ensure everything works correctly.
- Install Operating System and Drivers - Install your preferred OS and update drivers.
By following these steps and carefully selecting your components, you can build a custom gaming PC that will deliver high-performance gaming experiences. Enjoy lag-free gameplay, stunning graphics, and smooth frame rates on a PC that you built yourself.


